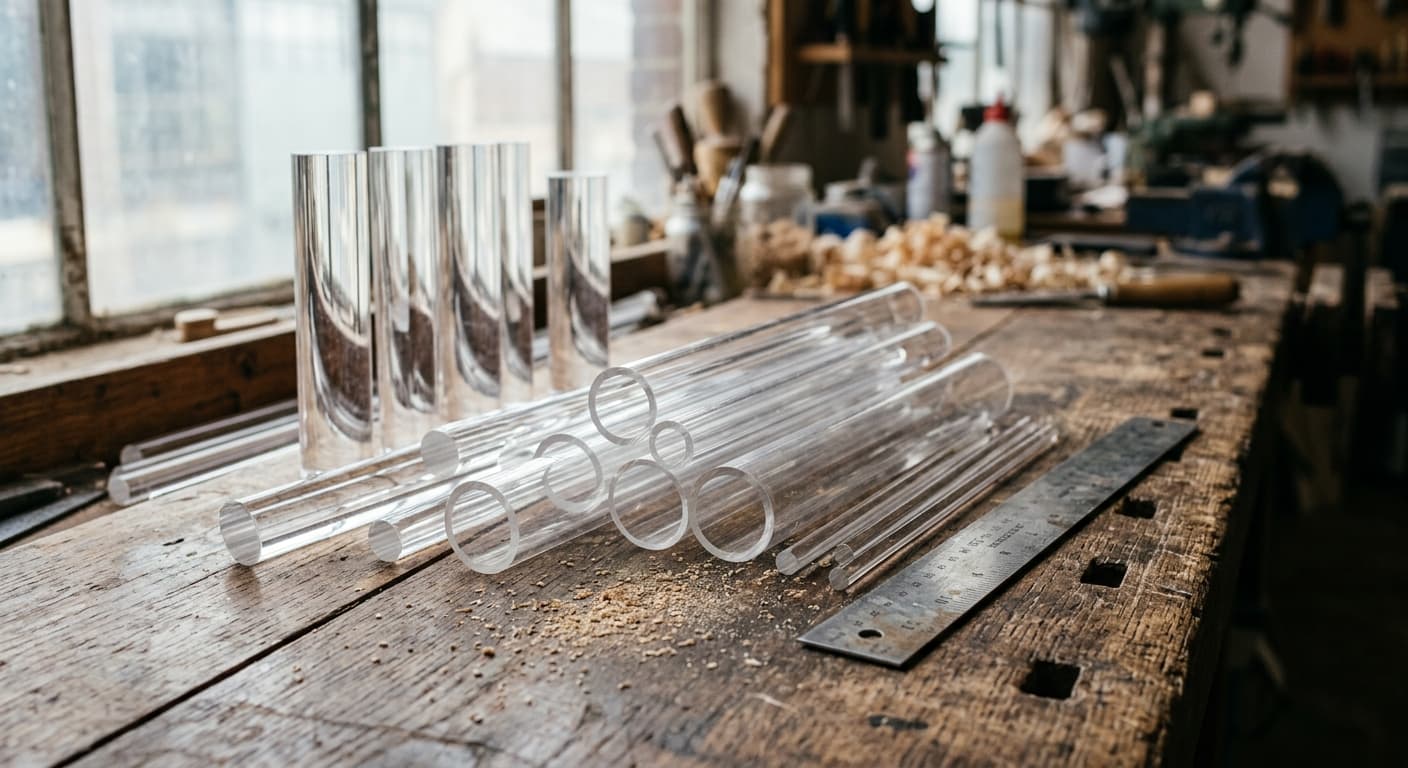
Acrylic rod and acrylic tube are the cylindrical forms of the same material sold as sheet under names like Perspex and Plexiglas. Rod is solid all the way through. Tube is hollow, specified by outside diameter and wall thickness. Both come in two manufacturing types that behave very differently: cast acrylic, which machines, polishes and glues beautifully but costs more, and extruded acrylic, which is cheaper and more dimensionally consistent but far more prone to chipping and cracking when you work it. For anything you will cut, drill or polish yourself, buy cast. For display stands, lighting diffusers, trophies, aquarium fittings and model making, cast acrylic rod and tube is almost always the right call.
Below is what each form is actually used for, how to read the sizing, and the working techniques that stop a $40 length of tube turning into scrap on the first cut.
What acrylic rod and tube are used for
The common thread is that these are jobs needing a clear cylindrical component rather than a flat sheet, where glass would be too fragile or too heavy and metal would not let light through.
Retail display and point of sale
Acrylic rod is the workhorse of display risers, jewellery stands, plinth legs, sign standoffs and shelf supports. Short lengths of 20mm to 50mm rod, cut square and polished on both ends, make clean invisible spacers that hold a sign or shelf off a wall. Larger diameter tube becomes cylindrical display cases, product cylinders and counter-top dispensers.
The reason it dominates retail is optical. A polished clear rod effectively disappears under shop lighting, so the product appears to float. No other affordable material does that.
Lighting
Acrylic is an excellent light pipe. Light entering one end of a clear rod bounces along the internal surfaces and emerges at the far end, which is why acrylic rod appears in pendant lights, edge-lit signage, bollard lights and decorative fittings. Frosted or opal tube works the opposite way as a diffuser, spreading LED point sources into an even glow. Rod and tube slipped over LED strip is the standard trick for turning a harsh strip of diodes into a soft continuous line of light.
Trophies, awards and engraving
Cast acrylic rod takes laser engraving cleanly and the frosted engraved surface catches light against the clear body. Vertical rod sections mounted on a base are a staple of modern award design, and offcuts of large diameter rod make excellent paperweights and desk pieces.
Aquariums and water applications
Acrylic tube is widely used for aquarium overflow pipes, sump plumbing, reactor bodies, plant tubes and viewing columns, because it is transparent, does not corrode and can be solvent welded into leak-free joints. It is also the standard material for hard tube water cooling in PC building, where clear runs are part of the aesthetic.
One caution: acrylic is not rated for pressure piping. It is fine for gravity fed and low pressure aquarium work, but do not substitute it for pressure-rated PVC or polycarbonate in anything that will be pressurised.
Model making, prototyping and education
Architectural models, science demonstrations, museum mounts and engineering prototypes all use rod and tube for structural members, axles, columns and transparent housings. Small diameter rod also makes convenient locating pins and dowels in assemblies you want to be able to see into.
Cast versus extruded: the decision that matters most
Both are the same polymer, polymethyl methacrylate. The difference is entirely in how they were made, and it changes how the material behaves under a tool.
| Cast acrylic | Extruded acrylic | |
|---|---|---|
| How it is made | Monomer poured into a mould and polymerised in place | Molten polymer forced through a die and drawn to size |
| Molecular weight | Higher | Lower |
| Machining and drilling | Excellent, chips cleanly, resists cracking | Poor, gums up and chips, cracks around drill holes |
| Flame and buff polishing | Excellent, polishes to optical clarity | Fair, prone to crazing when flame polished |
| Laser engraving | Frosts white, ideal for awards | Engraves clear rather than frosted |
| Solvent cementing | Strong, near-invisible joints | Weaker, more prone to stress crazing at the joint |
| Dimensional tolerance | Looser, expect some variation | Tighter and more consistent |
| Cost | Higher | Lower, often 20 to 40 per cent less |
The practical rule: choose extruded only when the part will be used at its supplied length with no machining, and where a tight outside diameter tolerance matters, such as a sliding fit into a fixed fitting. In every other case, and certainly for anything being cut, drilled, glued, engraved or polished, cast is worth the extra cost. The scrap rate on extruded rod and tube under an inexperienced hand is high enough to erase the saving.
Sizes and how to specify them
Rod is specified by diameter alone. Australian stock typically runs from 3mm up to 100mm and beyond in round rod, with square and rectangular bar also available. Standard supplied lengths are usually 2000mm or 2440mm, and most suppliers will cut to length.
Tube is specified by outside diameter and either wall thickness or inside diameter. Get this right when ordering, because “50mm tube” is ambiguous. A tube described as 50mm OD with a 3mm wall has a 44mm bore, since the wall is subtracted from both sides. Common stock runs from around 6mm OD up to 200mm OD and larger by special order.
Two things to know about tolerances. Cast tube in particular can vary by a millimetre or more on nominal diameter, and the bore is rarely perfectly concentric with the outside. If you are designing a part that slides inside or over a tube, either allow clearance or plan to machine the mating surface to suit the actual piece in front of you. Measure the tube you received rather than trusting the catalogue number.
Beyond clear, rod and tube are available in frosted or opal for diffusion, fluorescent edge-glow colours that light up dramatically at the cut edges, and solid tints. Our full range is at acrylic rod and tube, and the wider material properties are covered in our acrylic material guide.
How to cut acrylic rod and tube without cracking it
Acrylic fails by brittle fracture. Every good technique here comes back to one principle: keep the material cool and never let a tool grab.
Choose the right cutting method
- Fine-tooth saw. A bandsaw or table saw with a blade made for plastics is the best result for both rod and tube. Look for a high tooth count with a triple chip grind, and zero or negative rake so the blade cannot grab and climb. A standard timber blade with aggressive positive rake will snatch tube and shatter it.
- Hacksaw or razor saw. Entirely adequate for occasional cuts. Fine teeth, light pressure, let the saw do the work.
- Mitre saw. Workable with a plastics blade, but only if you feed slowly. The high tip speed of a mitre saw generates a lot of heat.
- Lathe. The best finish available on rod. Sharp tooling, light cuts and a parting tool ground for plastics.
- Avoid pipe cutters and tube cutters on acrylic. They work by compressing a rotating wheel into the wall, and compression is exactly what cracks acrylic. This is the single most common cause of a split tube.
The technique
Leave the protective film or paper on until the last possible moment. It is your scratch protection and it also helps stop chipping at the cut line.
Support the work close to the cut. Unsupported tube flexes as the blade enters and that flex is what starts the crack. On a bandsaw, keep your hands either side of the blade and close in. On rod over about 25mm, a V-block makes an enormous difference by stopping the piece rolling.
Go slow and keep it cool. If you smell acrylic or see melted swarf welding itself back into the kerf, you are running too fast or feeding too hard. Melted acrylic re-fusing behind the blade will bind and crack the piece. Back off, let it cool, and take a lighter feed.
Rotate tube rather than cutting straight through. On thin-walled tube, cutting in from one side then rotating the piece and meeting the cut gives a far cleaner result than driving the blade through the far wall, where breakout chipping happens.
Never cut cold acrylic. Material brought in from a cold shed or a winter delivery van is significantly more brittle. Let it come up to room temperature first, which for a solid large-diameter rod may mean several hours.
Drilling
Drilling is where most acrylic breaks. Standard twist drills have too aggressive a point angle for plastic and they self-feed, grabbing as they break through and splitting the workpiece.
- Use a drill bit ground for plastics, or modify a standard bit by dulling the cutting edges slightly and flattening the point angle towards 60 to 90 degrees so it scrapes rather than augers.
- Step up through progressively larger sizes rather than driving a large bit in one pass.
- Back the workpiece with a sacrificial timber block so there is material behind the breakout point.
- Ease off the pressure as the bit approaches the far surface. Breakthrough is the moment of failure.
- Never drill a hole tight to a fastener that will be tightened down. Acrylic has a high coefficient of thermal expansion and a captive bolt in a snug hole will crack the part on the first hot day. Oversize the hole and use a washer.
Polishing and finishing
A saw cut leaves a matte, translucent edge. Getting back to optical clarity is a progressive process, and skipping steps does not work.
Sanding. Wet sand through the grits, typically 240, 400, 800, 1200 and 2000, keeping the surface wet throughout. Each stage should remove the scratch pattern from the previous stage entirely before you move on. Rushing here is why polished acrylic ends up hazy: the deep scratches are still there under the shine.
Buffing. Finish with a soft cotton or flannel wheel and a plastic polishing compound. Keep the wheel moving and do not dwell in one spot, because friction heat will melt and distort the surface. On rod ends, a slow-turning wheel with light pressure gives the best result.
Flame polishing. Passing a fine flame, usually oxy-hydrogen or a butane torch, quickly across the edge melts the surface into a gloss. It is fast and gives an excellent result on cast acrylic, but it locks internal stress into the surface. Flame polished edges that are later exposed to solvents, adhesives or cleaning chemicals will craze into a network of fine cracks. Do not flame polish anything that will be solvent cemented, and be aware that extruded acrylic crazes far more readily under a flame than cast does.
Annealing. For critical parts, heating the piece to around 80 degrees Celsius and cooling it slowly relieves machining stress and dramatically reduces later crazing. It is an extra step most jobs skip, but for anything that will be glued or chemically exposed it is worth the time.
Joining acrylic rod and tube
Acrylic is solvent welded rather than glued. Thin solvent cement is drawn into the joint by capillary action, dissolves the surfaces and fuses them into a single piece. Done well the joint is nearly invisible and as strong as the parent material.
The requirements are unforgiving. Mating faces must be square, flat and in full contact, because solvent cement fills no gaps at all. Surfaces must be clean and free of polishing compound. And the joint must be clamped lightly and left undisturbed, since the solvent needs time to flash off and the bond continues gaining strength for a day or more.
For gap-filling situations, use a two-part acrylic adhesive instead. Avoid cyanoacrylate superglue on clear acrylic entirely, because the vapour fogs the surrounding surface white and the damage is permanent.
Care and what to avoid
Acrylic scratches more easily than glass, so clean with warm water, mild detergent and a soft microfibre cloth. Never dry-wipe a dusty surface, because you are grinding grit across it.
Keep solvents away. Methylated spirits, acetone, ammonia-based glass cleaners and most household sprays will craze acrylic. We do not recommend trying to polish out scratches on an existing surface, as results are inconsistent and can leave it worse than before; crazing cannot be repaired at all.
If the application involves prolonged outdoor UV exposure, acrylic handles it better than most clear plastics and yellows very little. If it involves impact resistance above all else, polycarbonate is the tougher material, though it scratches more easily and is harder to polish. Choosing between the two usually comes down to whether optical clarity or impact strength matters more.
FAQ
Are Perspex and acrylic the same thing?
Yes, in practical terms. Acrylic is the material, polymethyl methacrylate. Perspex is a brand name for it, as are Plexiglas and Lucite. Australians commonly say Perspex generically the way they say Esky or Biro. When someone asks for perspex rod, they mean acrylic rod, though it is still worth confirming whether they need cast or extruded.
Can you cut acrylic rod easily at home?
Yes, with the right approach. A fine-tooth hacksaw or a bandsaw with a plastics blade will cut rod cleanly if you support the work close to the cut, feed slowly and keep the material cool. Do not use a tube cutter or pipe cutter, since compressing the wall is the main cause of cracking. Leave the protective film on while cutting and let cold material warm to room temperature first.
How strong is an acrylic rod?
Acrylic is rigid and strong in compression, and a solid rod resists bending well for its weight, but it is brittle rather than tough. It will hold a substantial static load and then fail suddenly rather than deforming first. For structural or safety-critical uses, or anywhere impact is likely, polycarbonate is the appropriate choice because it absorbs impact instead of shattering.
What is the difference between acrylic tube OD and ID?
OD is the outside diameter, ID is the inside diameter or bore. Wall thickness is the difference between them divided by two, since the wall exists on both sides. A 50mm OD tube with a 3mm wall has a 44mm ID. Always specify which measurement you need when ordering, and measure the delivered piece before machining anything to fit, because tolerances on tube are looser than on machined metal parts.
Can acrylic tube be used for aquariums?
Yes, and it is very common for overflow pipes, sump plumbing, reactor bodies and viewing columns. It is transparent, corrosion-proof and can be solvent welded into leak-free joints. It should not be used for pressurised lines, and joints must be properly solvent cemented rather than glued with a gap-filling adhesive.
Can you bend acrylic rod or tube?
Yes, with even heat. Acrylic softens around 150 to 160 degrees Celsius and can be formed, then holds the new shape on cooling. The heat must be applied evenly across the whole section, which is straightforward for thin tube in an oven and considerably harder for solid large-diameter rod. Uneven heating produces internal stress and later cracking, so for anything demanding this is a job worth handing to a fabricator with the right equipment. We cover forming, machining and assembly under custom fabrication, and precise profiling and engraving under acrylic laser cutting.